This page will provide you a high-level overview over the workflow in Hornet Studio.
Workflow Overview
Printing is done in four main steps:

Setup
Configure printer and materials

Import & Layout
Algorithm-supported arrangement on surface

Supports
Highly customizable support structures

Slicing & Export
Export arrangement ready for printing
1 – Setup
In this first step, the printer and material options are set.
You can either choose presets or configure your own custom printer and materials.
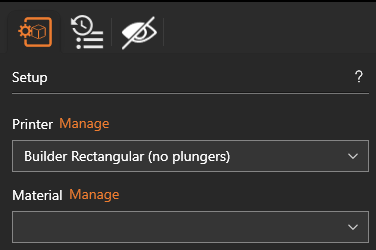
To learn more about custom printers and materials, go here.
2 – Import & Layout
Next, the objects are loaded into the file, to then be adjusted and arranged.
You have full control over position, rotation and scale over each single object.
Helper functions will assist you in arranging multiple objects optimally.
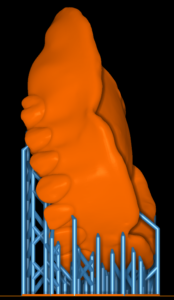
3 – Supports
Custom-made algorithms allow for optimized support structures ready for printing.
This consists of four steps, each with granular control over every parameter.
- Support Points Editing
- Templates Editing
- Support Platforms Editing
- Carvings Editing
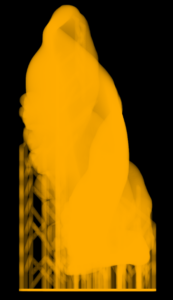
4 – Slicing & Export
Finally, the objects can be sliced as
- Meshes
- Slices
- Volumes
They are then ready for export or printing!